
Perfect Brioche Recipe: Secrets to Achieve Bakery-Quality Results at Home

Introduction to the Perfect Brioche Recipe
The perfect brioche recipe is a true celebration of enriched dough, combining butter, eggs, and careful technique to create a bread that is soft, airy, and deeply flavorful. Unlike standard bread, brioche requires patience and precision, but the reward is a golden loaf with a feathery crumb and a rich, slightly sweet taste. This guide walks you through every stage of the process, from ingredient preparation to baking, ensuring consistent and professional results even in a home kitchen.
Ingredients for the Perfect Brioche Recipe
To achieve the ideal structure and flavor, accurate measurements are essential.
Dry ingredients include
500 grams of bread flour
60 grams of sugar
10 grams of salt
7 grams of instant yeast
Wet ingredients consist of
5 large eggs weighing approximately 250 grams
120 grams of whole milk at room temperature
The fat component includes
200 grams of unsalted butter that is soft but not melted
These proportions create a rich dough that balances tenderness with structure.
Understanding the Role of Each Ingredient
Each component in this perfect brioche recipe serves a critical purpose. Bread flour provides the protein necessary for gluten development, which supports the dough’s structure. Eggs contribute richness, color, and moisture, while milk enhances tenderness and flavor. Sugar adds sweetness and helps with browning during baking. Salt strengthens the gluten network and balances flavor. Yeast drives fermentation, allowing the dough to rise and develop complexity. Butter is the defining ingredient, delivering softness and a luxurious texture.
Essential Rule for Brioche Success
The most important rule in any perfect brioche recipe is to never add butter before gluten is properly developed. Adding fat too early interferes with gluten formation, resulting in a weak dough that cannot trap air effectively. This single principle determines whether the final product is light and airy or dense and greasy.
Step 1: Initial Mixing Phase
Begin by combining the flour, sugar, salt, and yeast in a stand mixer bowl. Add the eggs and milk, then mix on low speed for three to four minutes. At this stage, the dough will appear shaggy and sticky, which is completely normal. The goal is simply to hydrate the flour and bring the ingredients together into a cohesive mass.
Step 2: Gluten Development Stage
Increase the mixer speed to medium-low and knead the dough for eight to twelve minutes. During this time, the dough transforms from rough and sticky into a smooth, elastic mass that begins to pull away from the sides of the bowl. This stage is critical because it builds the gluten network that will support the rich fat content added later. The dough should stretch without tearing immediately, indicating sufficient strength. Rushing this step is one of the most common mistakes and leads to poor structure.
Step 3: Butter Incorporation Technique
Once the dough has developed elasticity, begin adding the butter one tablespoon at a time. Allow each addition to fully incorporate before adding the next. This gradual process ensures the dough emulsifies properly, transforming from basic bread dough into a silky brioche dough. The dough may look slightly separated at first, but continued mixing will bring it back together into a cohesive and glossy mass.
Step 4: Final Mixing and Texture Check
After all the butter is incorporated, continue mixing for an additional three to five minutes. The dough should now be glossy, soft, and slightly sticky while still elastic. It should stretch easily and resemble a thick batter that can hold its shape. This texture is a key indicator that the perfect brioche recipe has been executed correctly up to this point.
First Rest and Cold Fermentation
Cover the dough and allow it to rest at room temperature for one hour. After this initial rest, transfer it to the refrigerator and let it chill for eight to twelve hours. This overnight rest enhances flavor development, firms the dough for easier handling, and improves overall structure. Skipping this step reduces both flavor and workability, making shaping more difficult.
Shaping the Brioche Dough
The next day, remove the dough from the refrigerator and let it sit at room temperature for thirty to sixty minutes to soften slightly. The dough can be shaped into a loaf for a classic presentation or divided into rolls for a more visually appealing option. Proper shaping ensures even baking and an attractive result.
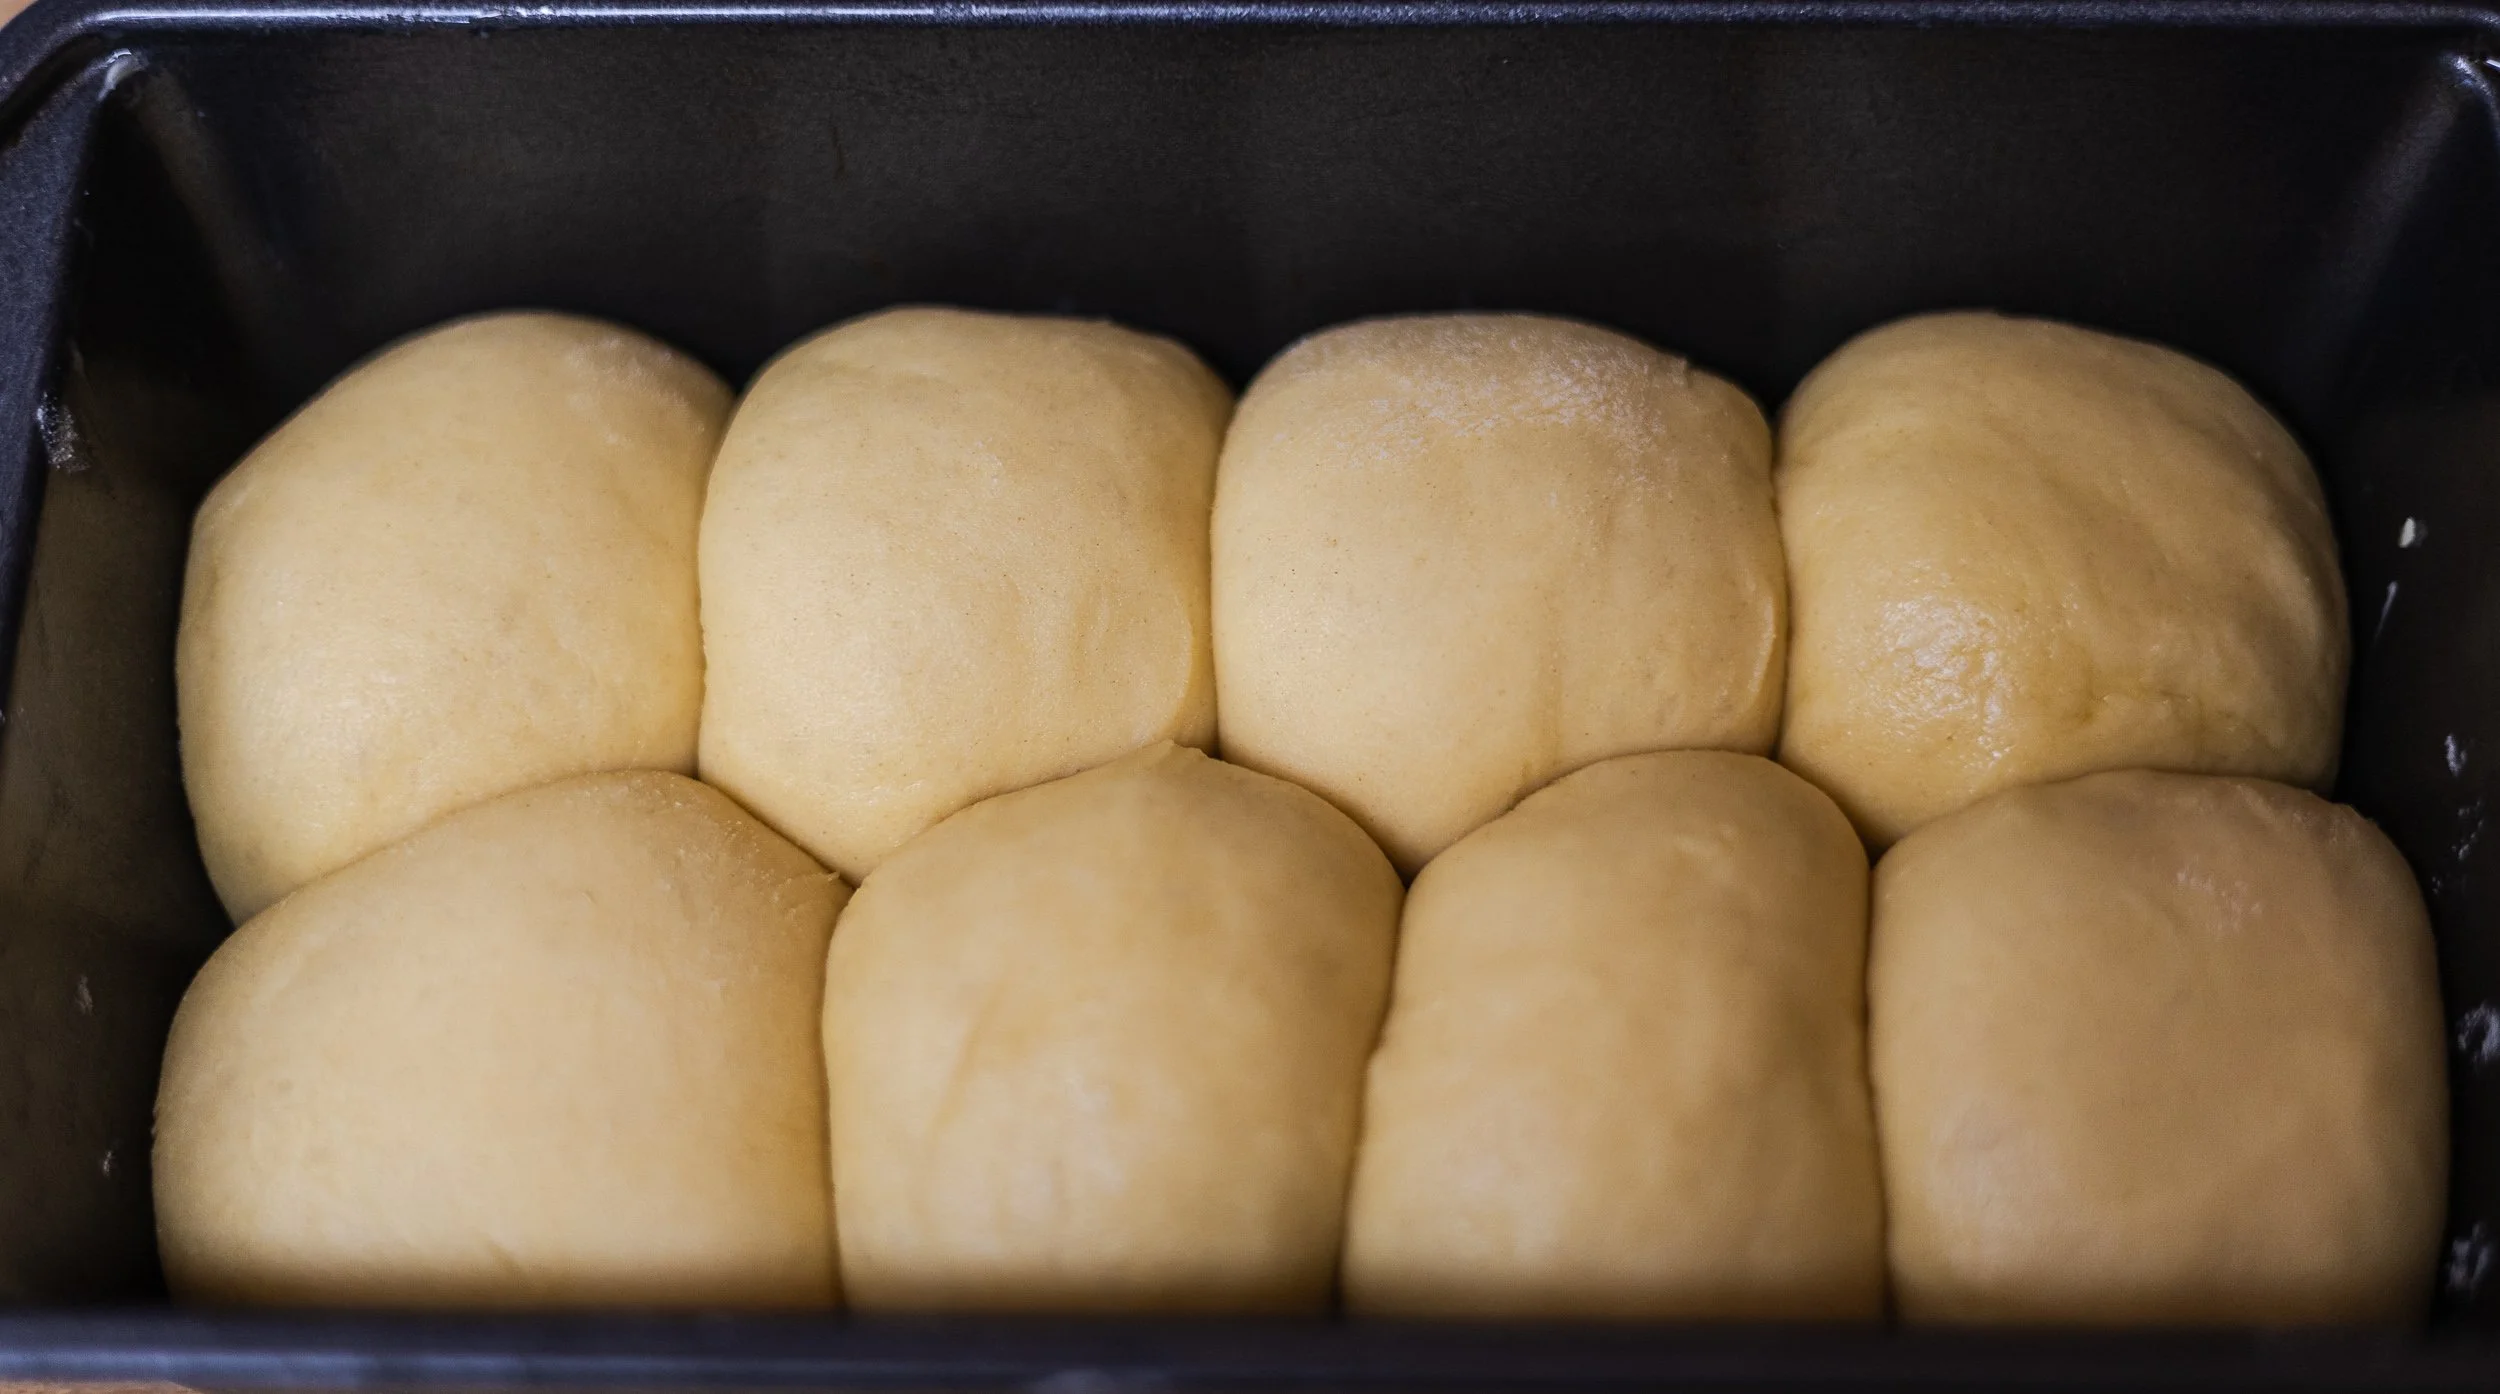
Proofing for Optimal Rise
After shaping, allow the dough to proof for one and a half to three hours. The dough should become puffy and slightly jiggly, and it should slowly spring back when touched. Proper proofing is essential for achieving the light texture associated with a perfect brioche recipe. Under proofed dough will be dense, while over proofed dough may collapse during baking.
Baking the Perfect Brioche
Preheat the oven to 175 degrees Celsius or 350 degrees Fahrenheit. Bake the loaf for thirty to forty minutes, depending on size. The internal temperature should reach approximately 88 degrees Celsius or 190 degrees Fahrenheit. For a glossy finish, brush the dough with an egg wash before baking. This step enhances both appearance and crust quality.
Characteristics of a Perfect Brioche
A successful brioche features a deep golden crust and a soft, feathery interior. The crumb should be light and slightly stringy, pulling apart in delicate strands. When torn, the interior should have a subtle sheen, indicating proper fat distribution and hydration.
Common Mistakes to Avoid
Several common errors can ruin a perfect brioche recipe. Adding butter too early prevents gluten development and creates a greasy dough. Mixing at excessively high speeds can overheat the dough and weaken its structure. Insufficient kneading results in a dense loaf with poor rise. Skipping the cold fermentation stage makes the dough difficult to handle and reduces flavor complexity.
Pro Tips for Better Results
Maintain a moderate dough temperature throughout mixing to prevent overheating. Use high-quality butter for the best flavor. Be patient during gluten development and butter incorporation, as rushing either step compromises the final product. Always rely on visual and tactile cues rather than strictly following time guidelines.
Variations of the Perfect Brioche Recipe
This versatile dough can be adapted in many ways. Add chocolate chips for a sweet treat or incorporate citrus zest for a fresh flavor profile. Brioche can also be shaped into braided loaves or filled with cream or jam for a more indulgent version.
Storage and Serving Suggestions
Store brioche at room temperature in an airtight container for up to two days or refrigerate for longer shelf life. It can also be frozen and reheated without losing its texture. Brioche is excellent served fresh, toasted with butter, or used in recipes such as French toast or bread pudding.
FAQs About the Perfect Brioche Recipe
-
Brioche contains a high amount of butter and eggs, giving it a richer flavor and softer texture than standard bread.
-
Yes, but it requires significant manual kneading and careful technique to develop gluten properly.
-
This usually results from under-kneading or under proofing the dough.
-
Reducing butter will change the texture and richness, making it less authentic.
-
Use a thermometer to ensure the internal temperature reaches about 88 degrees Celsius or 190 degrees Fahrenheit.
-
Cold fermentation improves flavor and makes the dough easier to shape.
Conclusion
Mastering the perfect brioche recipe requires attention to detail, patience, and an understanding of how each step contributes to the result. By carefully developing gluten, incorporating butter gradually, and allowing proper fermentation, you can achieve a bakery-quality brioche at home. With practice and consistency, this rich and elegant bread can become a reliable and impressive addition to your baking repertoire.

Perfect Brioche Recipe
Discover the ultimate perfect brioche recipe with expert techniques, step-by-step guidance, and pro tips to achieve a soft, rich, and bakery-quality loaf every time.
Ingredients
Instructions
- Using a stand mixer combine:
- Flour, sugar, salt, yeast
- Eggs + milk added
- Mix on low speed: Dough will look shaggy and sticky
- Switch to medium-low speed
- Let dough become: Smooth, Elastic, Pulling from bowl
- Add butter 1 tbsp at a time
- Wait until fully absorbed before next addition
- Dough should be: Glossy, Soft, Slightly sticky but elastic
- Cover and rest 1 hour at room temp
- Then refrigerate 8–12 hours (overnight)
- Options: Loaf pan (cleanest) or Rolls (best for wow factor)
- Before shaping: Let dough sit 30–60 min (slightly softens)
- Shape dough
- Proof 1.5–3 hours
- Look for: Puffy, Jiggly, Slow spring back when touched
- Underproofing = dense brioche
- Overproofing = collapse risk
- Brush with egg wash before baking for shine
- 350°F
- 30–40 minutes (loaf)
- Internal temp: ~190°F
Notes
WHAT PERFECT BRIOCHE LOOKS LIKE
- Deep golden crust
- Feathery interior
- Stringy soft crumb
- Slight sheen when torn
COMMON FAILURE POINTS (READ THIS)
Butter too early
dough breaks, greasy mess
Mixer too fast
overheated, weak gluten
Under-kneaded
no structure, dense loaf
Skipping cold rest
impossible to shape cleanly
Nutrition Facts
Calories
447Fat
22 gSat. Fat
13 gCarbs
54 gFiber
2 gNet carbs
52 gSugar
8 gProtein
9 gSodium
653 mgCholesterol
56 mg