
Crispy, Airy Focaccia Recipe: 8 Proven Secrets for Perfect Golden Texture Every Time
Introduction to Crispy, Airy Focaccia
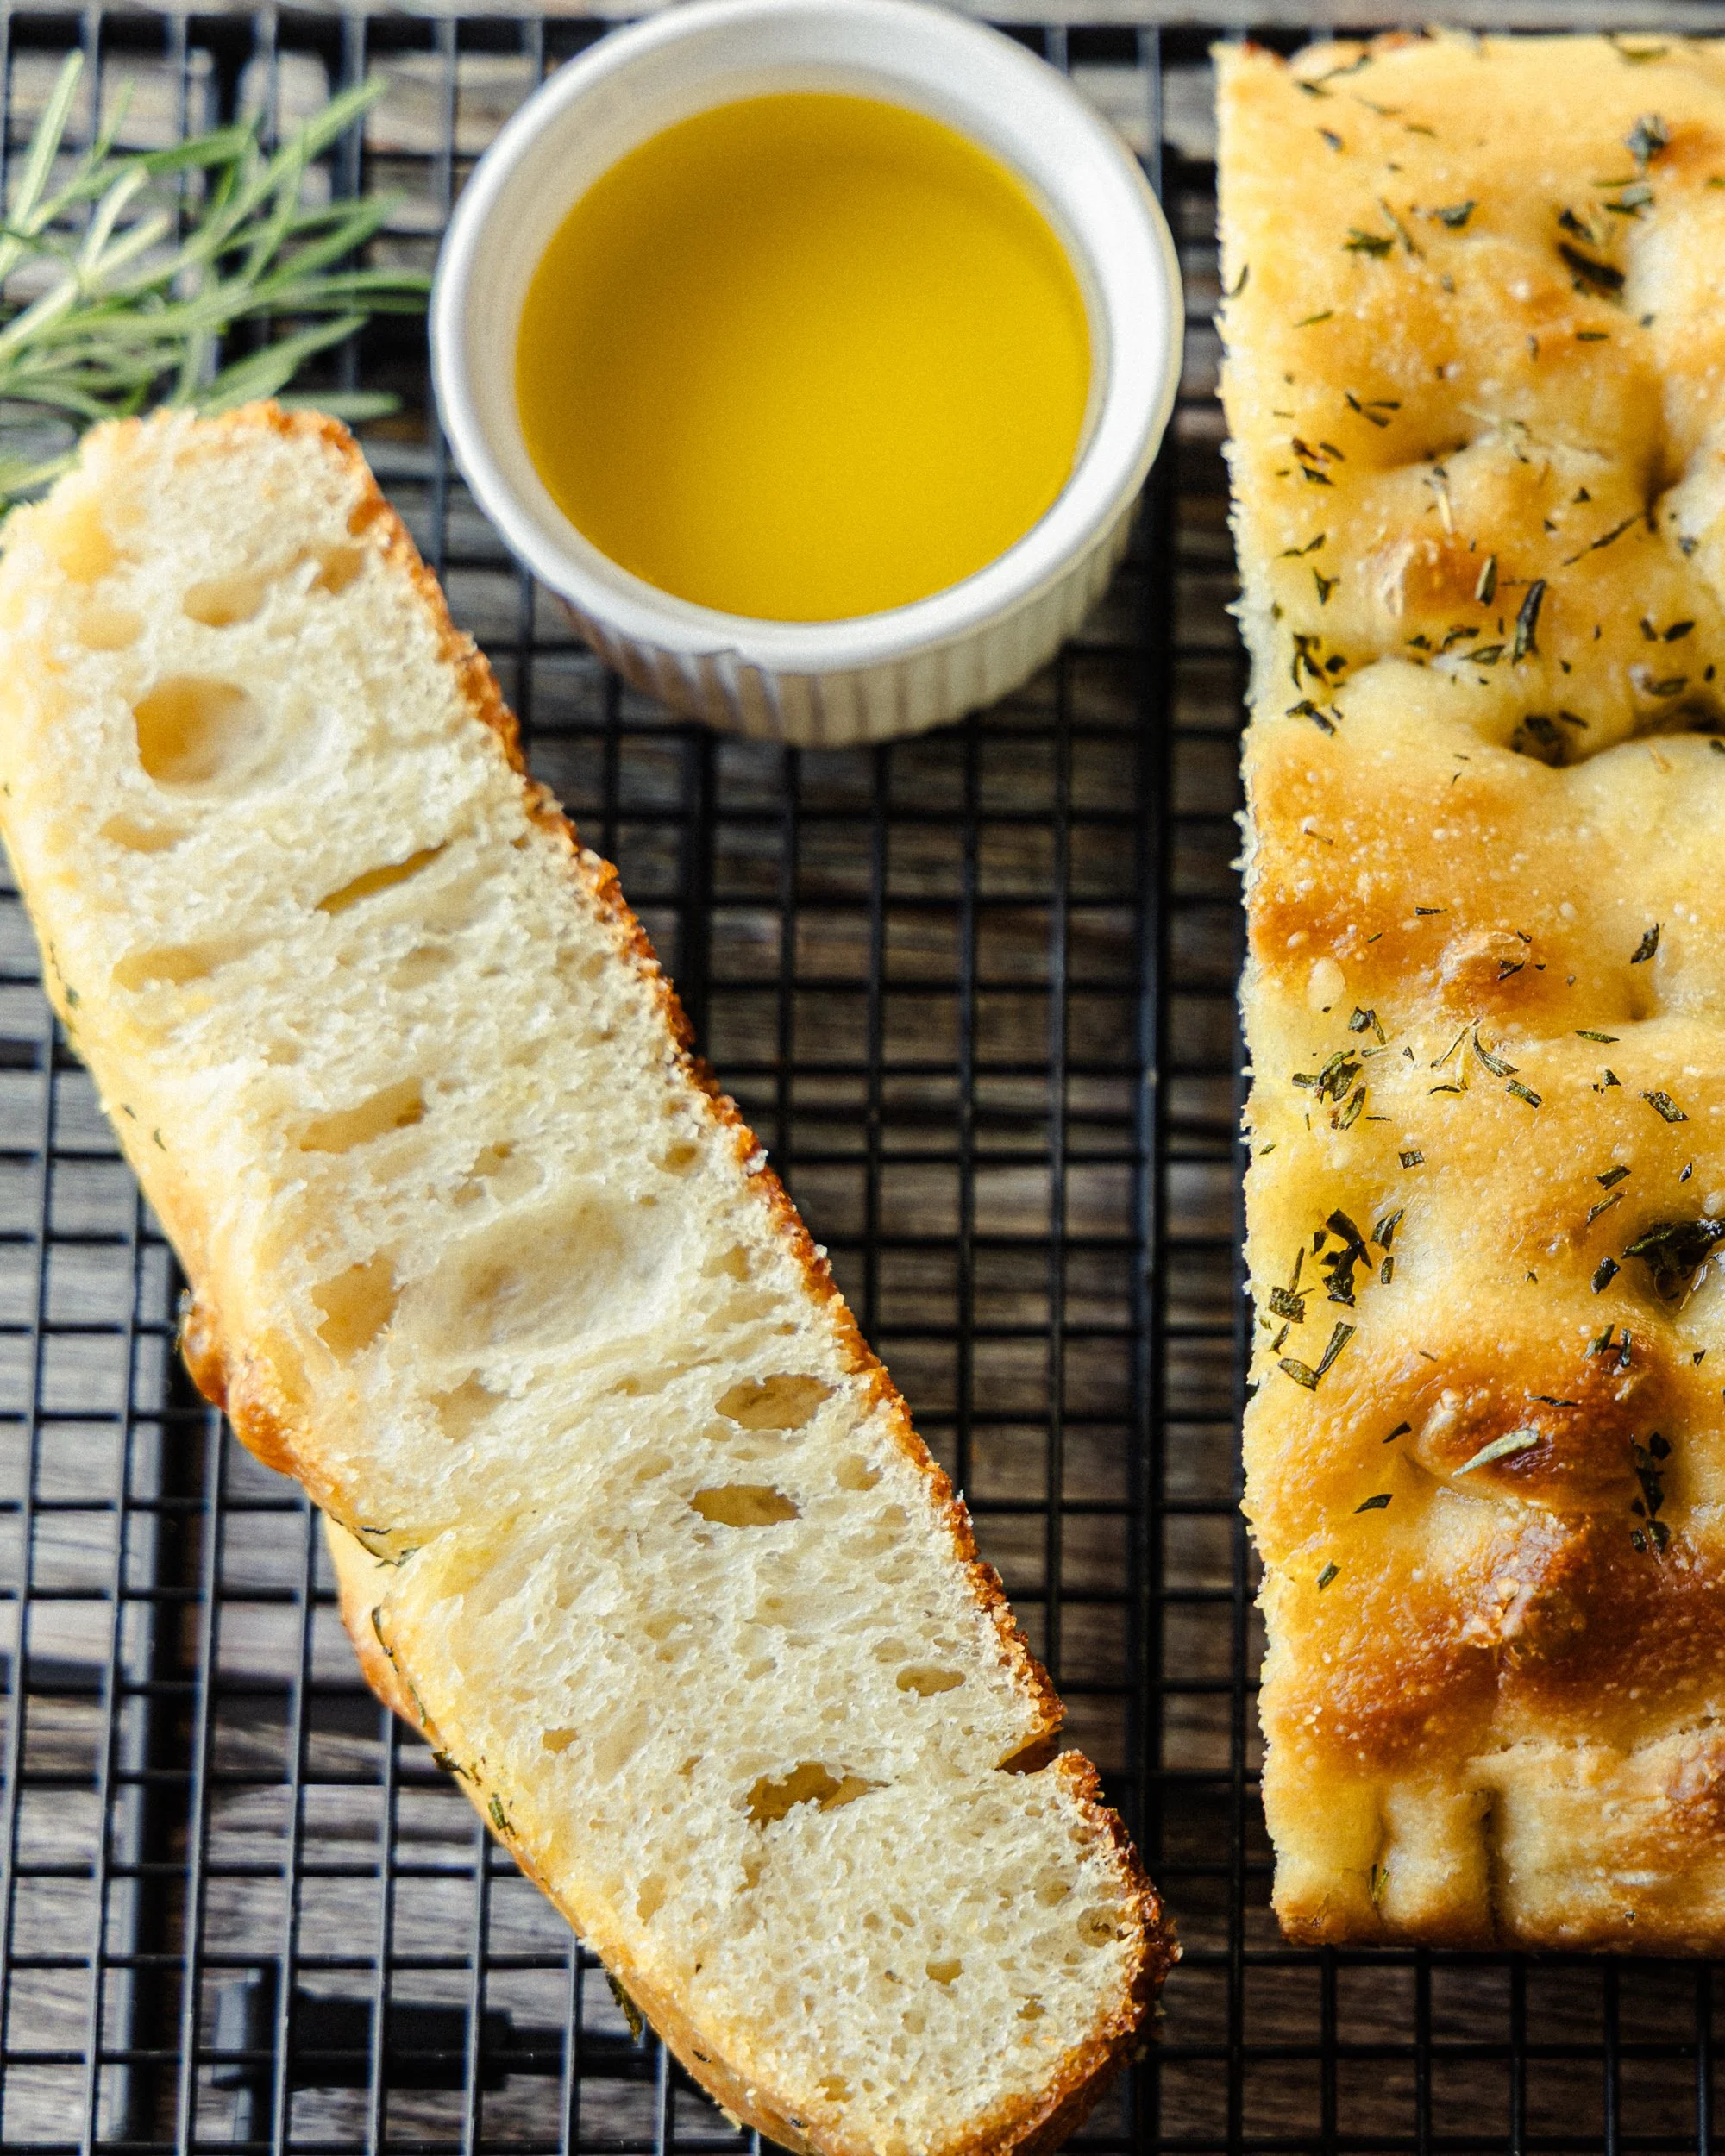
The Crispy, Airy Focaccia Recipe is one of the most satisfying breads you can master at home. It’s bold, rustic, and full of flavor—yet surprisingly simple once you understand the technique.
Unlike traditional lean bread, focaccia embraces high hydration and olive oil, creating a soft interior with irresistibly crispy edges. This contrast is what makes it unforgettable.
But here’s the real secret: focaccia isn’t just a recipe—it’s a skill builder. It teaches you how to handle wet dough, recognize fermentation, and control texture through fat and heat.
What Makes Focaccia Different from Other Breads
Focaccia stands out because of its:
High hydration (very wet dough)
Generous use of olive oil
Signature dimples
Crispy bottom with soft interior
It’s less about structure and more about texture and flavor.
Why This Recipe Is a Skill-Building Masterpiece
When you master this Crispy, Airy Focaccia Recipe, you gain:
Confidence handling sticky dough
Better understanding of fermentation cues
Control over crust development
Ability to balance crispiness and softness
This is next-level baking knowledge.
Ingredients for Crispy, Airy Focaccia
Core Ingredients (Measured in Grams)
500g bread flour
400g water (80% hydration)
10g salt
5g yeast
30g olive oil (in dough)
Extra olive oil for pan
Understanding High Hydration Dough
Why 80% Hydration Creates Airy Texture
At 80% hydration, the dough is:
Very soft and sticky
Full of potential for large air pockets
Perfect for light, airy crumb
This level of hydration allows steam to expand inside the dough, creating that iconic open texture.
Role of Olive Oil in Flavor and Texture
Olive oil does more than add flavor—it:
Prevents sticking
Creates crispy edges
Adds richness
Helps caramelization
It’s essential for authentic focaccia.
Essential Tools for Baking Focaccia
Choosing the Right Pan
Use:
Metal pan for crispier crust
Glass pan for softer edges
The pan directly affects texture.
Importance of Olive Oil Coating
Generously oiling the pan ensures:
Non-stick surface
Fried-like crispy bottom
Better flavor
Don’t hold back here—this is key.
Step-by-Step Crispy, Airy Focaccia Recipe
Step 1: Mixing the Dough
Combine all ingredients until shaggy.
The dough will feel very wet—that’s exactly what you want.
Step 2: Resting the Dough
Let it rest for 20–30 minutes.
This allows:
Flour to hydrate fully
Gluten to begin forming naturally
Step 3: Stretch and Fold Technique
Perform 2–3 rounds every 20–30 minutes.
Each round:
Strengthens the dough
Makes it smoother
Improves structure
Step 4: Bulk Fermentation
Let the dough rise for 2–3 hours.
Look for:
Bubbles throughout
Jiggly texture
Slight rise
This stage builds flavor and airiness.
Step 5: Panning the Dough
Generously oil your pan.
Transfer the dough gently—don’t deflate it.
Let it rest another 30–60 minutes to relax.
Step 6: Dimpling Technique Explained
Coat your hands in olive oil and press your fingers deep into the dough.
This step creates:
Signature focaccia texture
Pockets for oil and toppings
Even baking surface
Step 7: Adding Toppings
Start Simple:
Flaky salt
Fresh rosemary
Upgrade Later:
Cherry tomatoes
Garlic confit
Caramelized onions
Step 8: Baking to Golden Perfection
Bake at 425°F (220°C) for 20–25 minutes.
Look for:
Deep golden color
Crispy edges
Soft, airy interior
Pro Tips for Perfect Focaccia
Common Mistakes to Avoid
Not using enough oil
Overhandling the dough
Under-fermenting
Skipping dimpling
How to Get Crispy Edges and Soft Interior
Use plenty of olive oil
Bake in a hot oven
Let dough ferment fully
Avoid overbaking
Focaccia Flavor Variations
Classic Rosemary and Salt
Simple, elegant, and timeless.
Gourmet Toppings Ideas
Try combinations like:
Tomato + basil
Onion + thyme
Garlic + parmesan
Storage and Reheating Tips
Keeping Focaccia Fresh
Store at room temperature
Cover loosely to keep crust crisp
Best Ways to Reheat
Oven at 350°F for 5–10 minutes
Avoid microwave (makes it soggy)
Nutritional Insights of Focaccia
Focaccia is:
Higher in fat due to olive oil
Rich in flavor
Satisfying and energy-dense
FAQs About Crispy, Airy Focaccia Recipe
1. Why is my focaccia dense instead of airy?
It likely didn’t ferment long enough or was overhandled.
2. Can I reduce the oil?
You can, but you’ll lose crispiness and flavor.
3. Why is my dough too sticky?
That’s normal—high hydration dough should feel wet.
4. Do I need to knead focaccia dough?
No, stretch-and-fold replaces kneading.
5. Can I proof it overnight?
Yes, it improves flavor significantly.
6. How do I know it’s done baking?
Look for deep golden color and crispy edges.
Conclusion
The Crispy, Airy Focaccia Recipe is more than just bread—it’s a gateway into advanced baking skills. From handling wet dough to mastering fermentation, every step teaches you something valuable.
Once you nail this, you’ll understand dough on a whole new level.
And honestly? That first bite of crispy, olive-oil-rich focaccia is worth every second.

Crispy, Airy Focaccia Bread
The Crispy, Airy Focaccia Recipe is one of the most satisfying breads you can master at home. It’s bold, rustic, and full of flavor—yet surprisingly simple once you understand the technique.
Ingredients
Instructions
- Step 1: Mixing the Dough Combine all ingredients until shaggy. The dough will feel very wet—that’s exactly what you want.
- Step 2: Resting the Dough Let it rest for 20–30 minutes. This allows: Flour to hydrate fully and gluten to begin forming naturally.
- Step 3: Stretch and Fold Technique. Perform 2–3 rounds every 20–30 minutes.
- Step 4: Bulk Fermentation. Let the dough rise for 2–3 hours. Look for: Bubbles throughout, jiggly texture, slight rise. This stage builds flavor and airiness.
- Step 5: Panning the Dough. Generously oil your pan. Transfer the dough gently—don’t deflate it. Let it rest another 30–60 minutes to relax.
- Step 6: Dimpling Technique Explained. Coat your hands in olive oil and press your fingers deep into the dough. This step creates: Signature focaccia texture, pockets for oil and toppings, and even baking surface.
- Step 7: Adding Toppings. Start Simple: Flaky salt and fresh rosemary.
- Step 8: Baking to Golden Perfection. Bake at 425°F for 20–25 minutes. Look for: Deep golden color, crispy edges, and soft, airy interior.
Notes
Pro Tips for Perfect Focaccia
Common Mistakes to Avoid
- Not using enough oil
- Overhandling the dough
- Under-fermenting
- Skipping dimpling
How to Get Crispy Edges and Soft Interior
- Use plenty of olive oil
- Bake in a hot oven
- Let dough ferment fully
- Avoid overbaking
Focaccia Flavor Variations
Focaccia Flavor Variations
Classic Rosemary and Salt
Simple, elegant, and timeless.
Gourmet Toppings Ideas
Try combinations like:
- Tomato + basil
- Onion + thyme
- Garlic + parmesan
Nutrition Facts
Calories
276Fat
7 gSat. Fat
1 gCarbs
46 gFiber
2 gNet carbs
44 gSugar
0 gProtein
8 gSodium
489 mgCholesterol
0 mg