
Lean Artisan Bread Recipe: 7 Powerful Steps to Master Bakery-Quality Loaves at Home
Introduction to Lean Artisan Bread
Lean Artisan Bread Recipe is the foundation of serious baking. If you want to bake like a pro, this is where everything begins. Think of it like learning knife skills in cooking—once you master this, everything else becomes easier.
This bread is called “lean” because it contains no fat, sugar, or enrichments. Just flour, water, salt, and yeast. Simple ingredients—but powerful results.
What makes this bread special isn’t just the recipe—it’s the technique. From hydration to fermentation, each step builds skill and intuition.
What Makes Lean Artisan Bread Unique
Lean bread stands apart because of its:
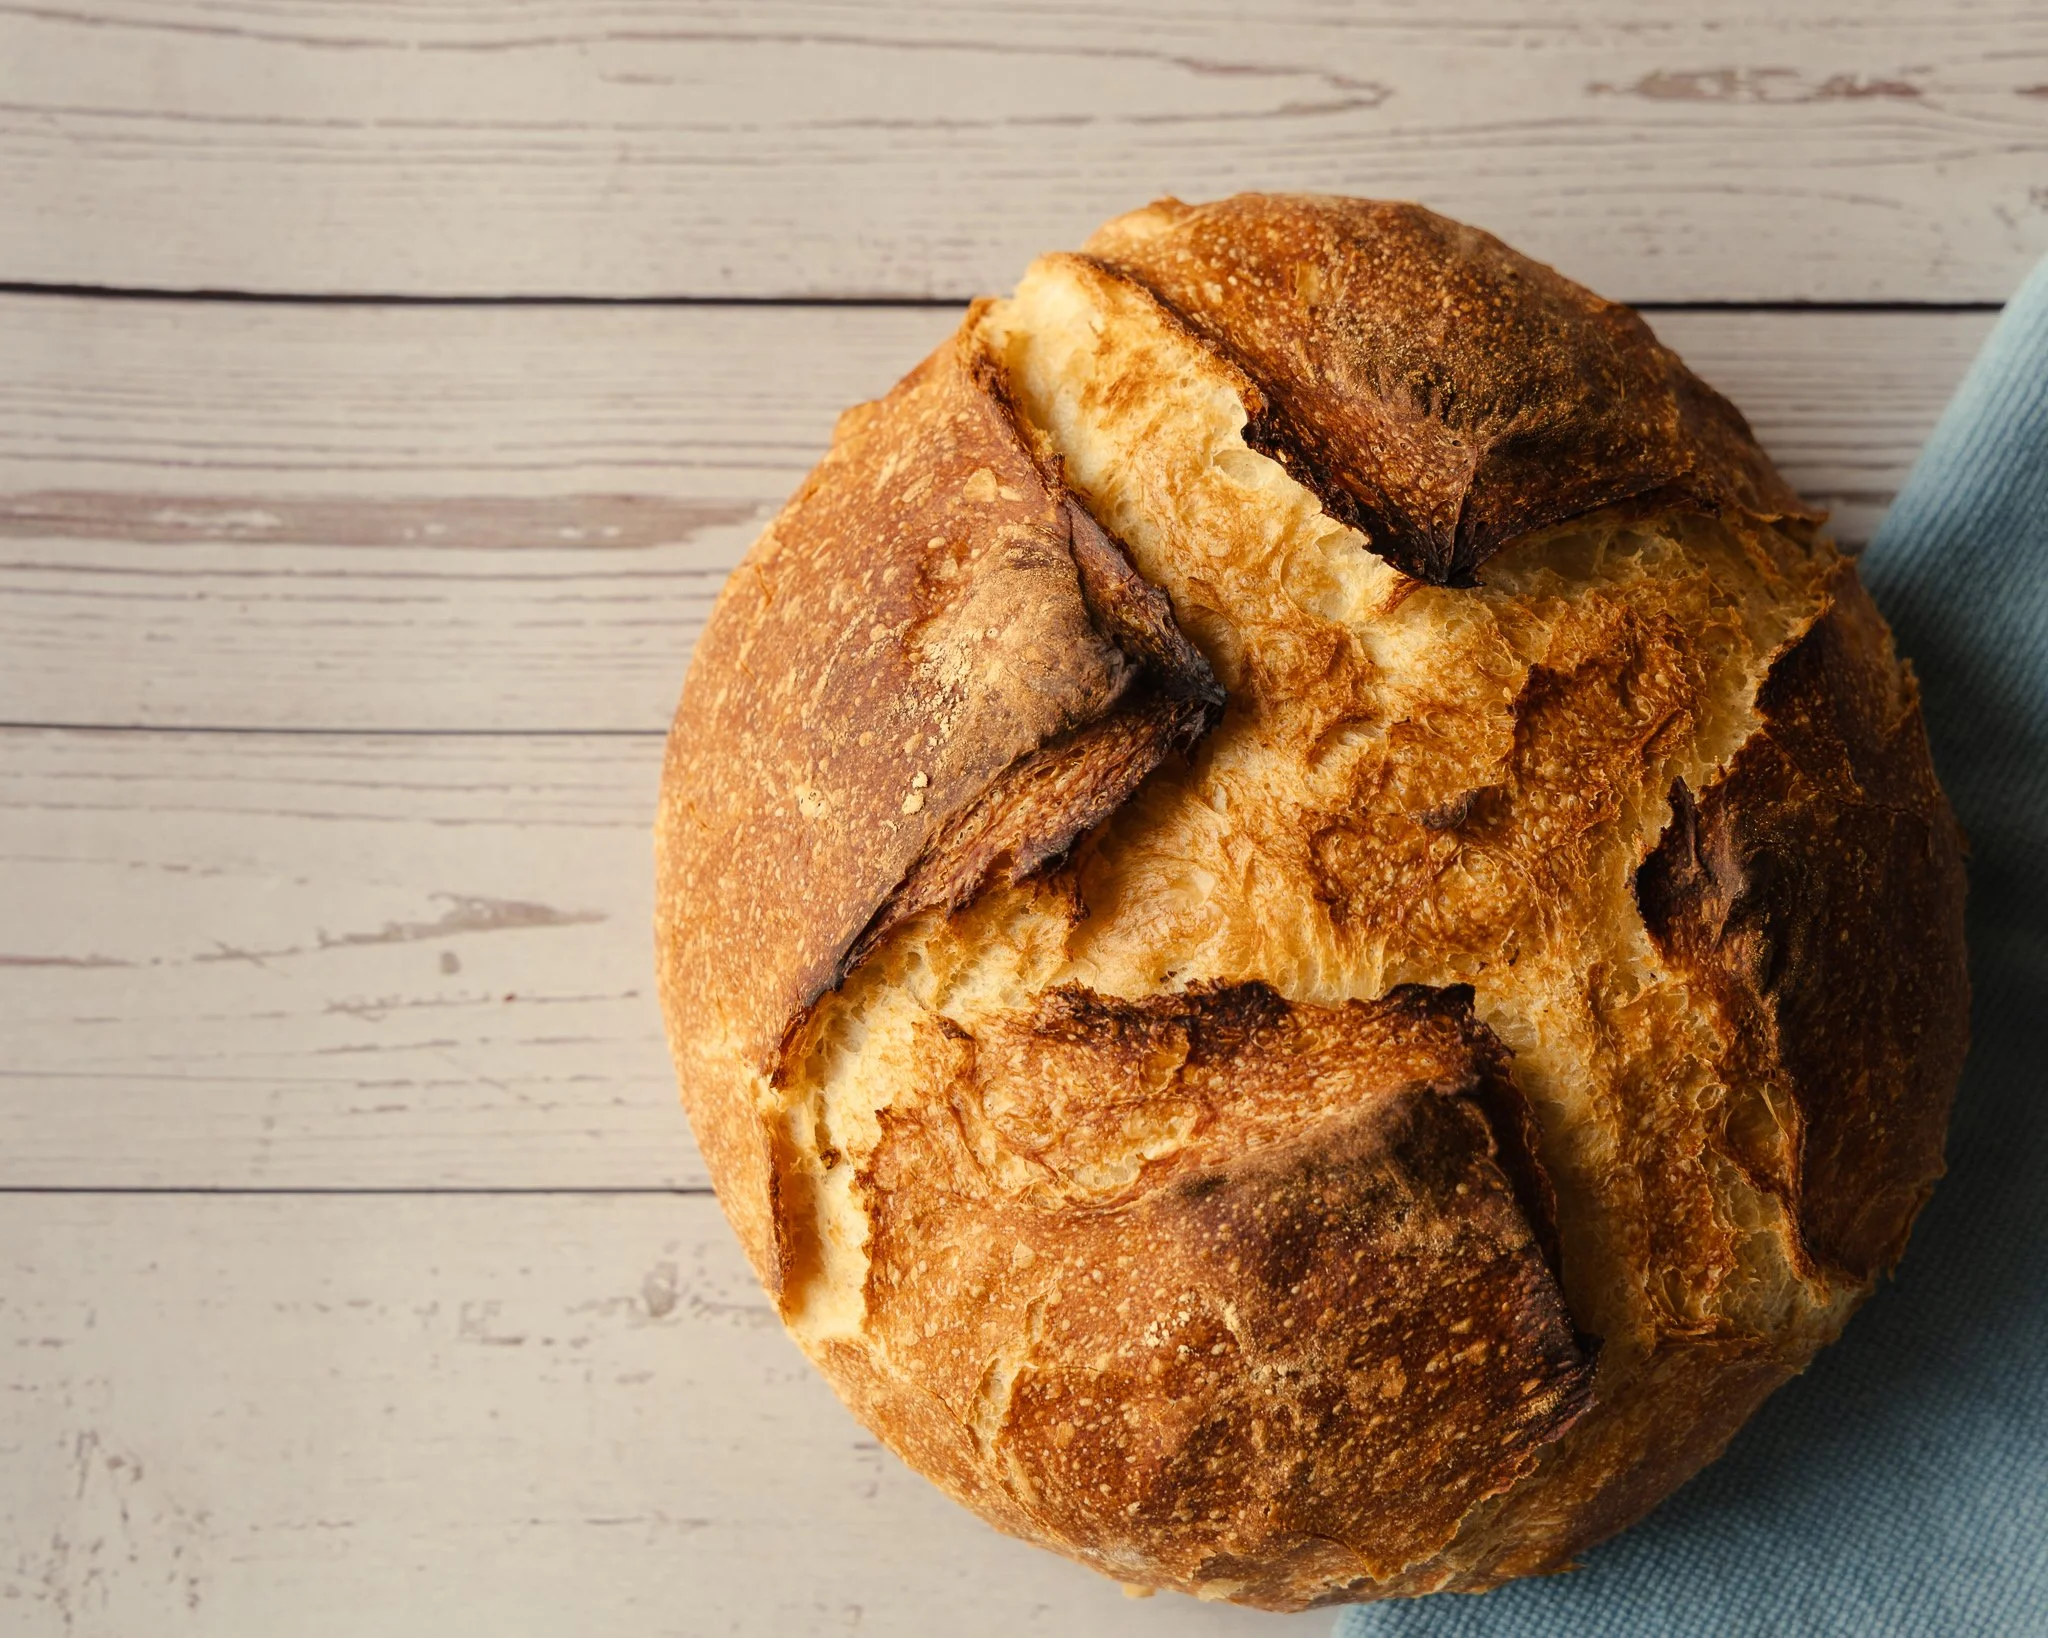
Crisp, crackly crust
Open, airy crumb
Deep, complex flavor
Minimal ingredients
Unlike enriched breads, this recipe relies entirely on fermentation and gluten development to create structure and taste.
Why This Recipe Builds Core Baking Skills
This Lean Artisan Bread Recipe teaches:
Dough handling
Gluten development
Fermentation timing
Shaping techniques
Oven spring control
Master this, and suddenly sourdough, baguettes, and pizza dough feel much easier.
Ingredients for Lean Artisan Bread
Core Ingredients (Measured in Grams)
500g bread flour
350g water (70% hydration)
10g salt
3g instant yeast
Precision matters. Baking is science, not guesswork.
Understanding Flour, Hydration, and Yeast
Why 70% Hydration Matters
Hydration refers to the ratio of water to flour. At 70%, this dough is:
Soft but manageable
Capable of producing an open crumb
Ideal for beginners moving into artisan bread
Higher hydration = more air pockets and better texture.
Ingredient Measurements in Grams (Precision Baking)
Using grams instead of cups ensures:
Consistency
Accuracy
Better results every time
If you’re serious about baking, a digital scale is non-negotiable.
Essential Tools for Success
Dutch Oven Benefits
A Dutch oven traps steam, which is critical for:
Oven spring
Crust formation
Professional bakery results
Scoring Tools and Their Impact
Scoring controls how the bread expands in the oven. Use:
Razor blade
Sharp knife
Bread lame
Proper scoring = beautiful bloom and structure.
Step-by-Step Lean Artisan Bread Method
Step 1: Mixing the Dough
Combine all ingredients until a shaggy dough forms. Don’t knead yet.
This rough mix allows water to fully hydrate the flour.
Step 2: Resting (Autolyse Technique)
Let the dough rest for 20–30 minutes.
This step:
Develops gluten naturally
Improves dough elasticity
Reduces kneading effort
Step 3: Developing Dough Strength
Perform 3–4 stretch-and-folds every 20 minutes.
Instead of aggressive kneading, you gently build structure over time.
Step 4: Bulk Fermentation
Let the dough rise for 2–3 hours at room temperature.
You’re looking for:
50–75% rise
Slight jiggle
Air bubbles forming
Step 5: Shaping the Dough (Critical Step)
Lightly flour your surface and shape into a tight ball.
Key goal: surface tension
This determines:
Oven spring
Final shape
Crumb structure
Step 6: Proofing for Flavor and Texture
Proof for:
45–60 minutes at room temp
OROvernight in the fridge (recommended)
Cold proofing enhances:
Flavor complexity
Easier scoring
Better structure
Step 7: Baking to Perfection
Preheat oven and Dutch oven to 475°F (245°C).
Bake in Two Phases:
Covered (20 minutes)
Steam develops crust elasticity
Uncovered (20–25 minutes)
Creates golden crust and color
Result: bakery-level bread at home.
Pro Tips for Perfect Artisan Bread
Common Mistakes to Avoid
Over-proofing (flat bread)
Under-proofing (dense crumb)
Poor shaping (no rise)
Skipping steam phase
How to Achieve an Open Crumb
Use proper hydration
Handle dough gently
Avoid over-degassing
Master fermentation timing
Variations of Lean Artisan Bread
Adding Seeds, Herbs, or Whole Grains
You can elevate your bread with:
Sesame seeds
Rosemary
Whole wheat flour
Adjusting Hydration Levels
Try:
65% for easier handling
75–80% for advanced bakers
Storage and Shelf Life
Keeping Bread Fresh Longer
Store at room temperature in paper bag
Avoid plastic (kills crust)
Freezing and Reheating Tips
Slice before freezing
Reheat at 350°F for 10 minutes
Nutritional Benefits of Lean Bread
Lean bread is:
Low in fat
Free of additives
Easier to digest (especially with long fermentation)
FAQs About Lean Artisan Bread Recipe
1. Why is my bread dense instead of airy?
Likely under-proofed or not enough gluten development.
2. Can I use all-purpose flour?
Yes, but bread flour gives better structure.
3. Why is my dough sticky?
High hydration is normal—use wet hands, not extra flour.
4. Do I really need a Dutch oven?
It helps a lot, but you can use a baking stone with steam.
5. How do I know when bulk fermentation is done?
Look for rise, bubbles, and a slightly domed surface.
6. Can I skip the overnight proof?
Yes, but flavor and texture improve if you don’t.
Conclusion
Mastering this Lean Artisan Bread Recipe is a game-changer. It’s not just about baking bread—it’s about understanding dough, fermentation, and technique.
Once you get this right, you’re no longer just following recipes—you’re baking with confidence.
And honestly? There’s nothing quite like pulling a perfectly golden loaf out of your oven.

Lean Artisan Bread
Lean Artisan Bread Recipe is the foundation of serious baking. If you want to bake like a pro, this is where everything begins. Think of it like learning knife skills in cooking—once you master this, everything else becomes easier.
Ingredients
- 500g bread flour
- 350g water (70% hydration)
- 10g salt
- 3g instand yeast
Instructions
- Combine all ingredients until a shaggy dough forms. Don’t knead yet. This rough mix allows water to fully hydrate the flour.
- Let the dough rest for 20–30 minutes.
- Perform 3–4 stretch-and-folds every 20 minutes. Instead of aggressive kneading, you gently build structure over time.
- Let the dough rise for 2–3 hours at room temperature. You’re looking for 50-75% rise.
- Lightly flour your surface and shape into a tight ball.
- Proof for: 45–60 minutes at room temp OR Overnight in the fridge (recommended).
- Preheat oven and Dutch oven to 475°F (245°C). Bake in Two Phases: Covered (20 minutes) Steam develops crust elasticity. Uncovered (20–25 minutes) Creates golden crust and color.
Notes
Pro Tips for Perfect Artisan Bread
Common Mistakes to Avoid
- Over-proofing (flat bread)
- Under-proofing (dense crumb)
- Poor shaping (no rise)
- Skipping steam phase
How to Achieve an Open Crumb
- Use proper hydration
- Handle dough gently
- Avoid over-degassing
- Master fermentation timing
Nutrition Facts
Calories
227Fat
1 gSat. Fat
0 gCarbs
45 gFiber
2 gNet carbs
44 gSugar
0 gProtein
8 gSodium
488 mgCholesterol
0 mg